LyNcH
Dries, wets, nymphs and streamers...it's all good!
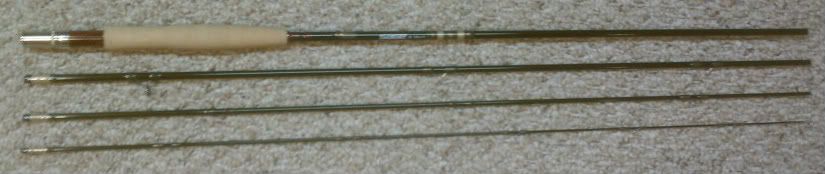
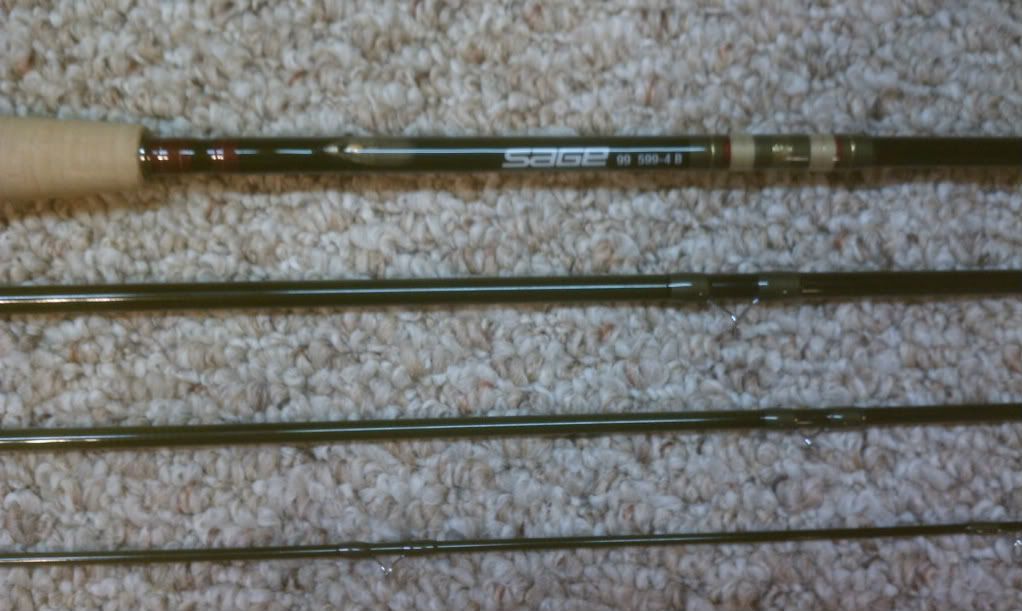
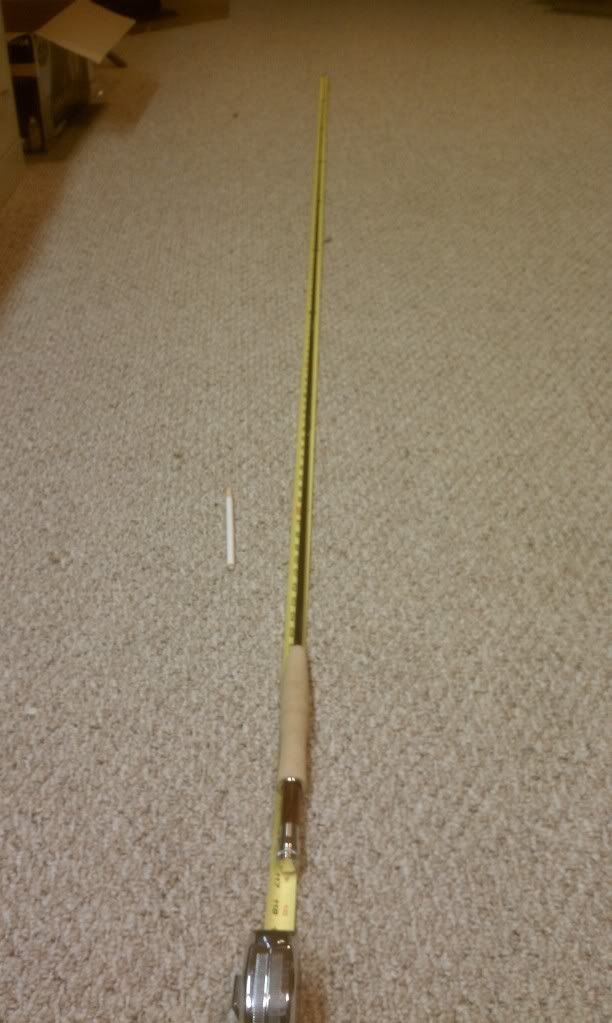
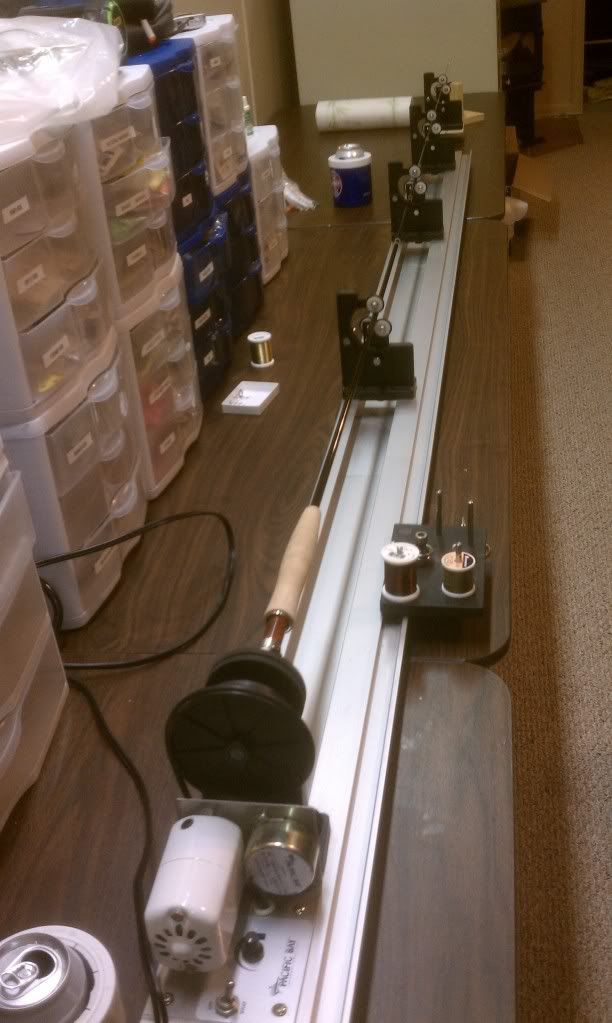
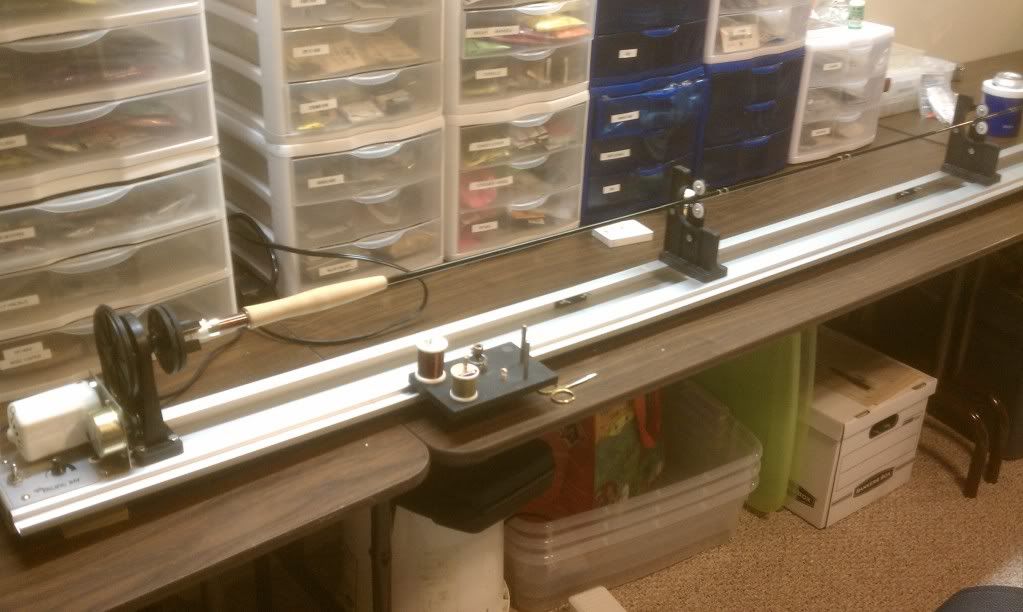
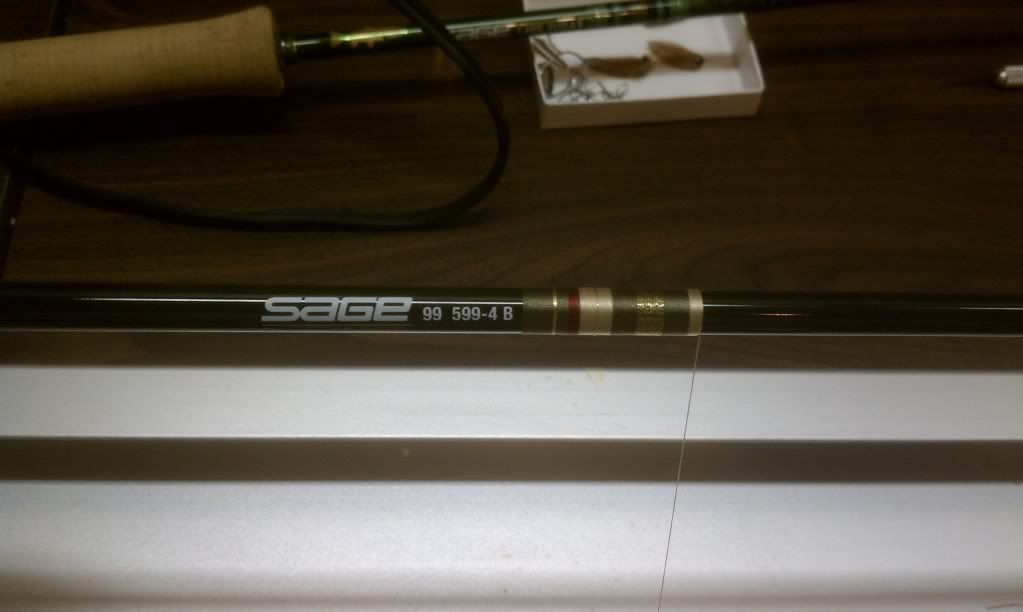
Last night I started a thread regarding a Sage 99 rod that I am building. I completed a bunch of steps without photographing and walking through the steps, so today I decided to do so with another rod that I want to build.
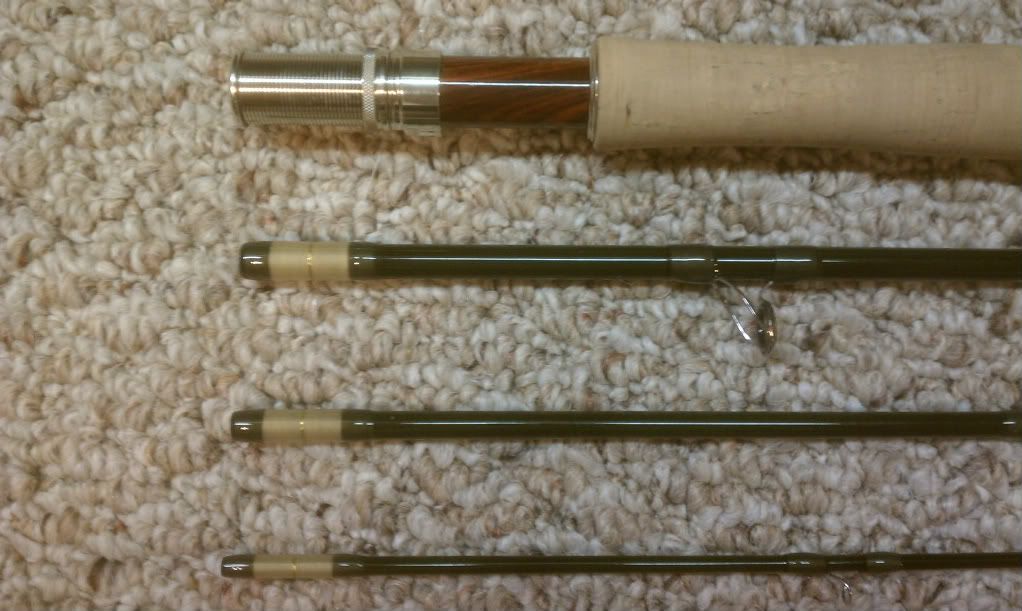
I am not a professional rod builder, but was taught by one and I am sure there are many different ways to do these steps. This process starts after I have assembled the reel seat. I am using a pre-made cork grip. The reel seat and cork are being put on a 10' 4wt rod. The following posts (finding the spline, thread wraps, epoxy, etc.) will be on my Sage 99.
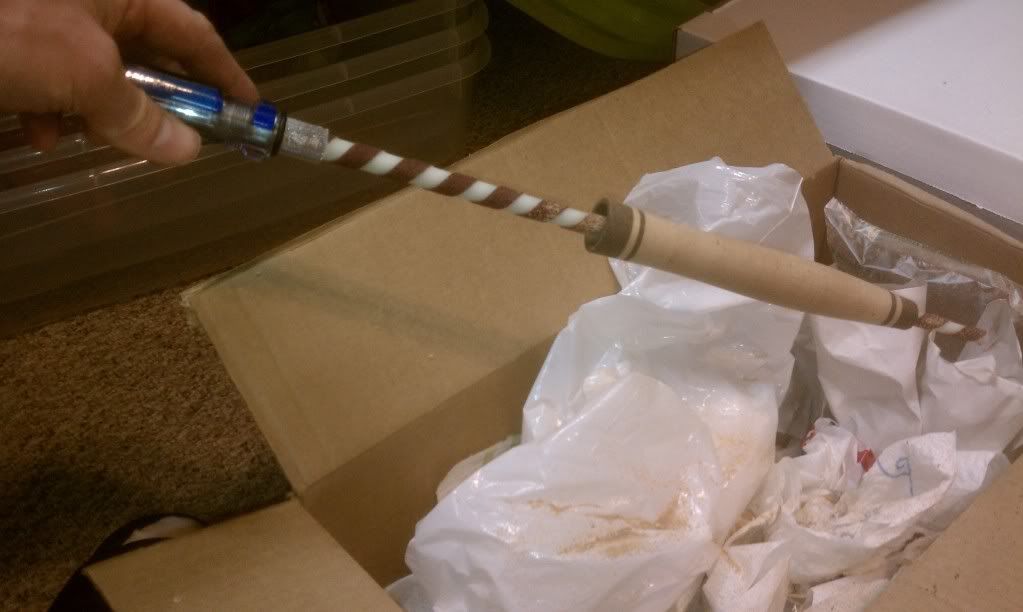
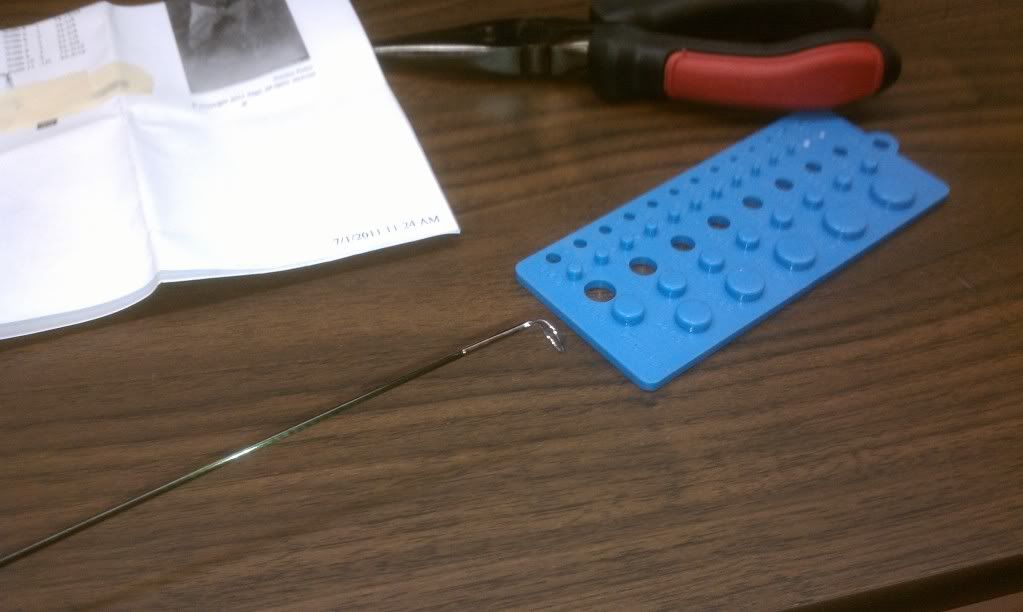
The first step is to properly ream the inside of the cork grip. The most effective tool I have found is the Batson Reamer. JS Fly Fishing: Rod Building, Fly Tying: Batson Enterprises Dream Reamer
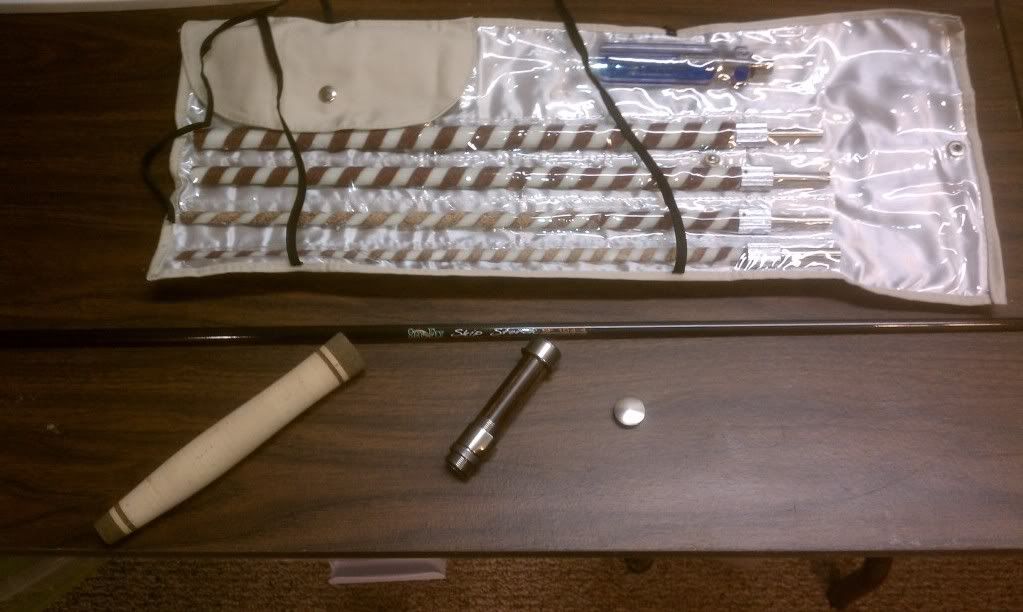
I have tried a bunch of other methods, but this by far is the easiest and best, perfect taper every time. This is time consuming, you want to rotate the reamer in the cork, not plunge it. Plan on taking at least 20 minutes to complete the process, especially if the cork has composite material in it like this one. The cork comes out in very fine particles, do it over a garbage. Blow out the inside of the cork before each time you try to size it up on the blank, you don't want anything scratching the blank. When you are sizing the cork to the blank, don't forget to take into consideration the length of the reel seat, I usually mark the blank with a marker to know were the junction will occur. Properly sized cork should have some resistance when done, but not so much so that you have to use elbow grease to get it into the final position. The epoxy step will lubricate it during assembly.
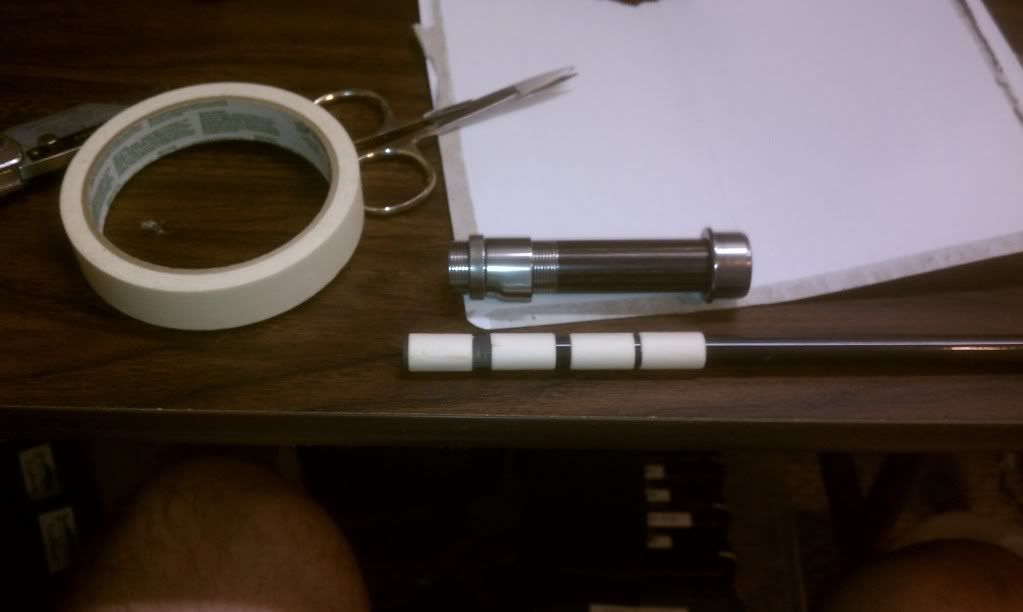
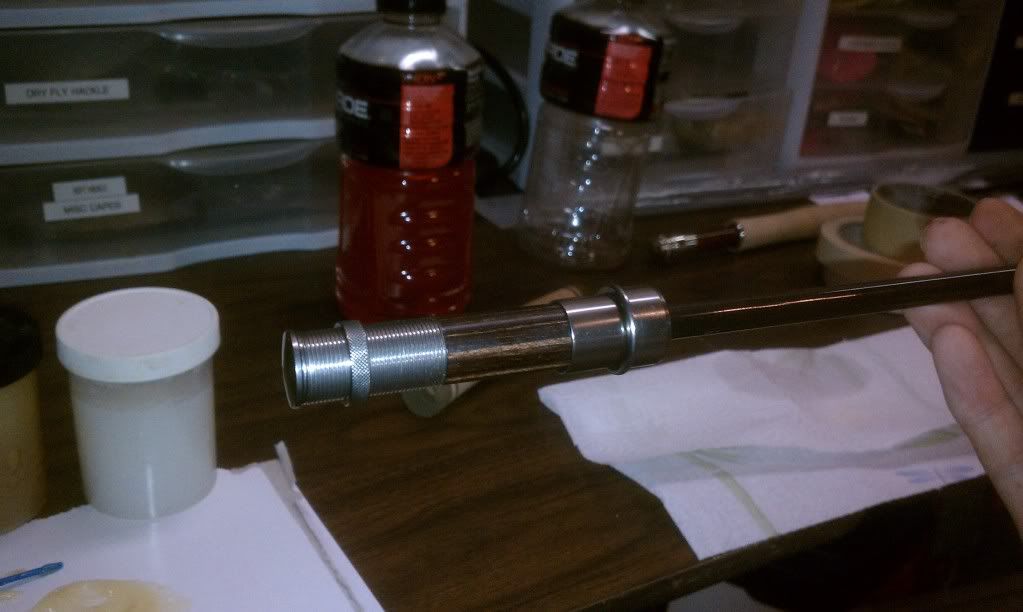
Once done with the cork, now it is time to fit the reel seat. The interior dimension of the reel seat will be larger that the rod blank, so you need to build the rod blank up so it is a uniform fit. They sell dowels for this, but I find it's easier and more precise to build up masking tape for this process. When doing this, make sure you leave space in between each of the tape rows so the epoxy and solidly set to both the tape and the blank. Also, you don't want to build the tape up so much that you have to force the seat over the tape, rather there should be a minimal amount of resistance so the epoxy can bond to the tape and the seat.
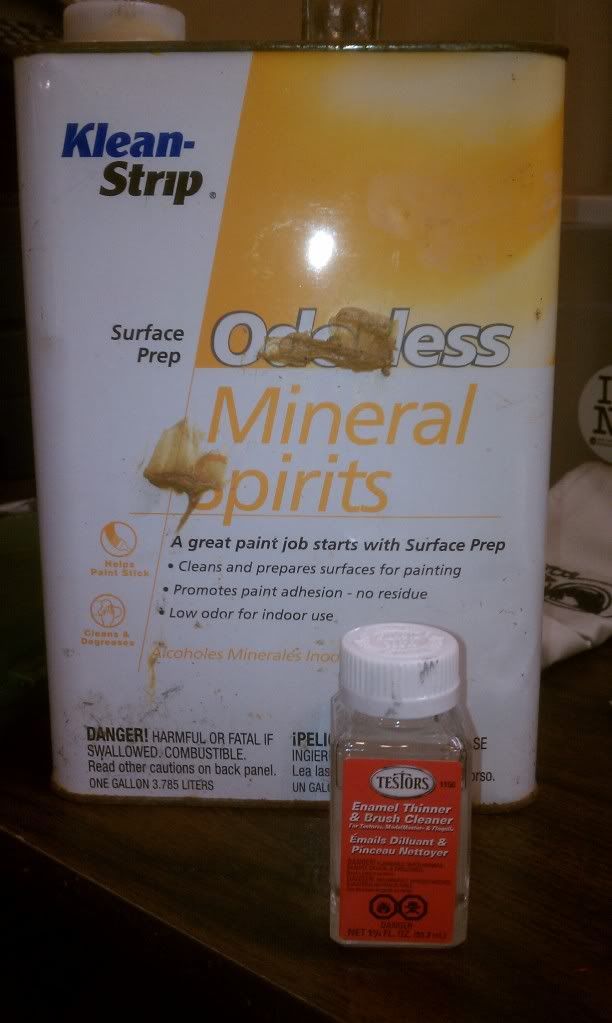
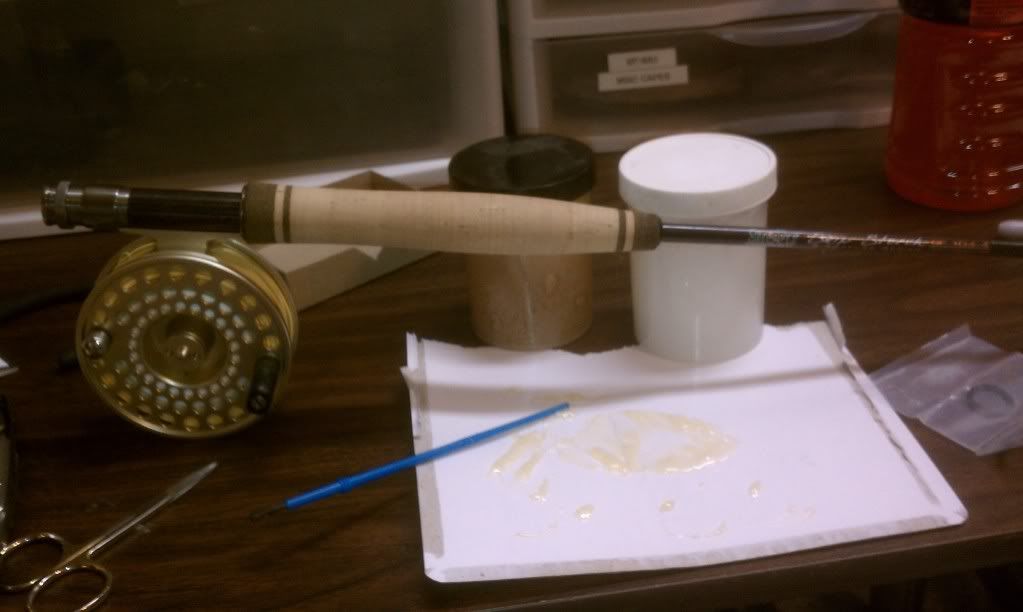
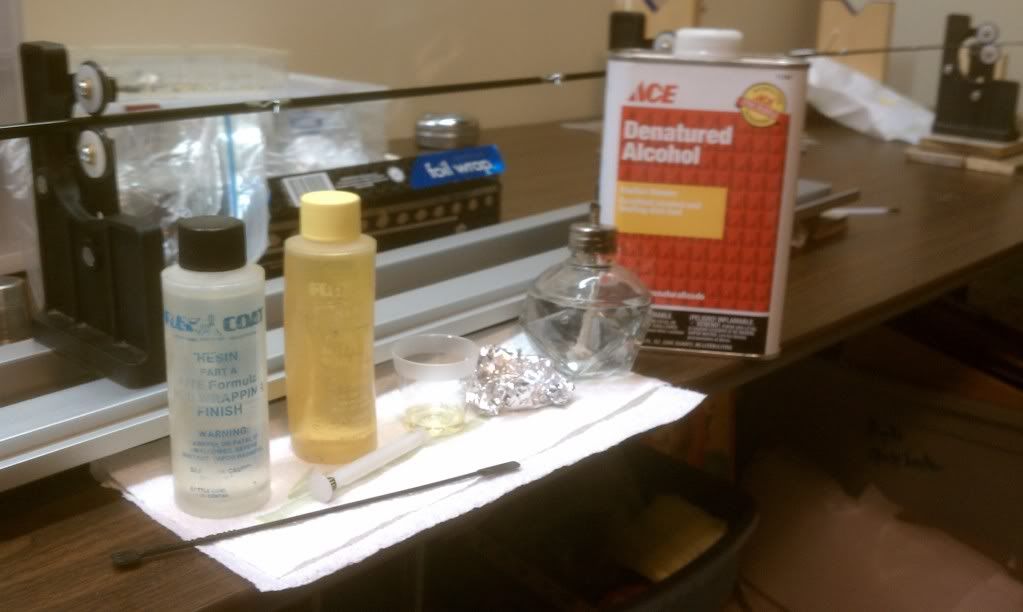
The next step is to mix up your epoxy and put the reel seat and the cork on the rod. I strongly recommend using a slow cure epoxy for this step. If you make a mistake, and it will happen, you can clean it up, correct it, and redo it without worrying about a 5 minute, or even hour window. I use a 12 hour cure epoxy. Besides epoxy, you MUST have some form of enamel thinner or mineral spirits and a roll of paper towels. Epoxy has a tendency to get everywhere, no matter how careful you are. You need to be able to thoroughly clean it up as once it sets, it's there for good.
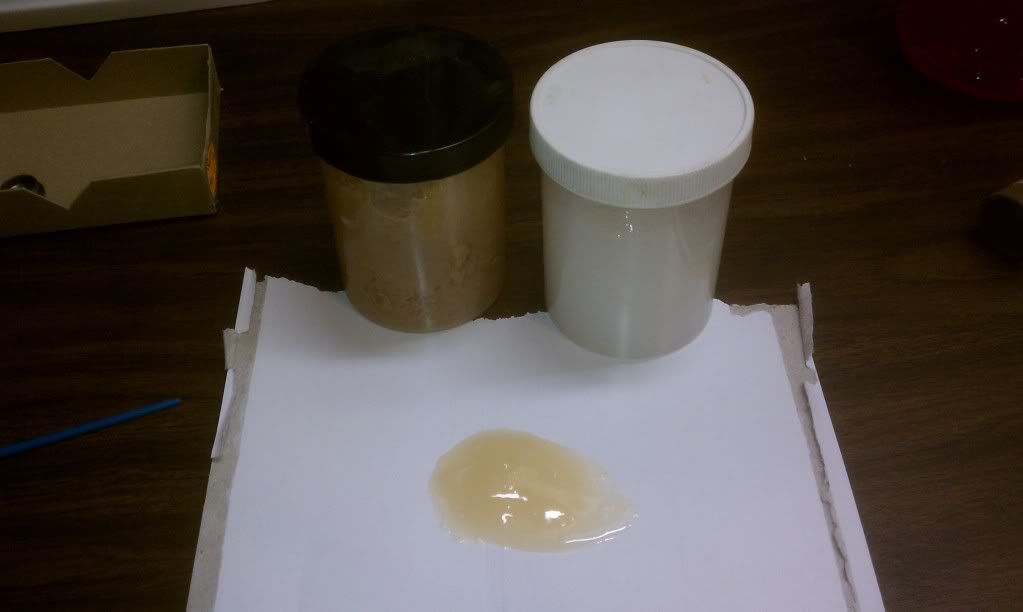
Thoroughly mix your 2 part epoxy. I try to use Popsicle sticks whenever messing with the stuff.
First we will put on the reel seat. Slather the epoxy in between the channels of your tape and put a thin coat over every .mm of tape. The epoxy should bulge convexly slightly out of the channels. From the tip section of the rod blank, move the seat on down and make sure it is in the right direction. Once you hit the epoxy section, do not back the seat up the blank again as a trail of messy epoxy will follow (that's why the mineral spirits). Slowly rotate the seat down over the tape section, some of the extra glue will start to push out, clean it off as you go. Take your time here!
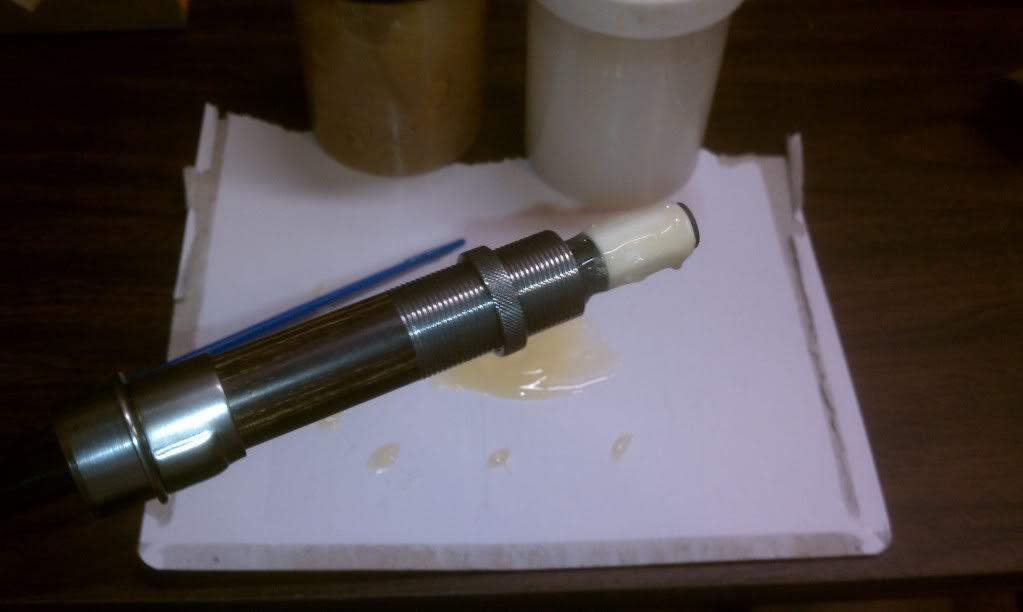
Once your seat is where you want it, make sure there is epoxy in the end of the seat and put a thin coat on the reel seat cap and put it on. Now you have installed the seat! We will line it up properly to the blank later, remember it's slow curing epoxy so we have time. Clean up any extra epoxy around the seat. Look in in the threads, it has a tendency to get in there, you don't want a locked up seat.
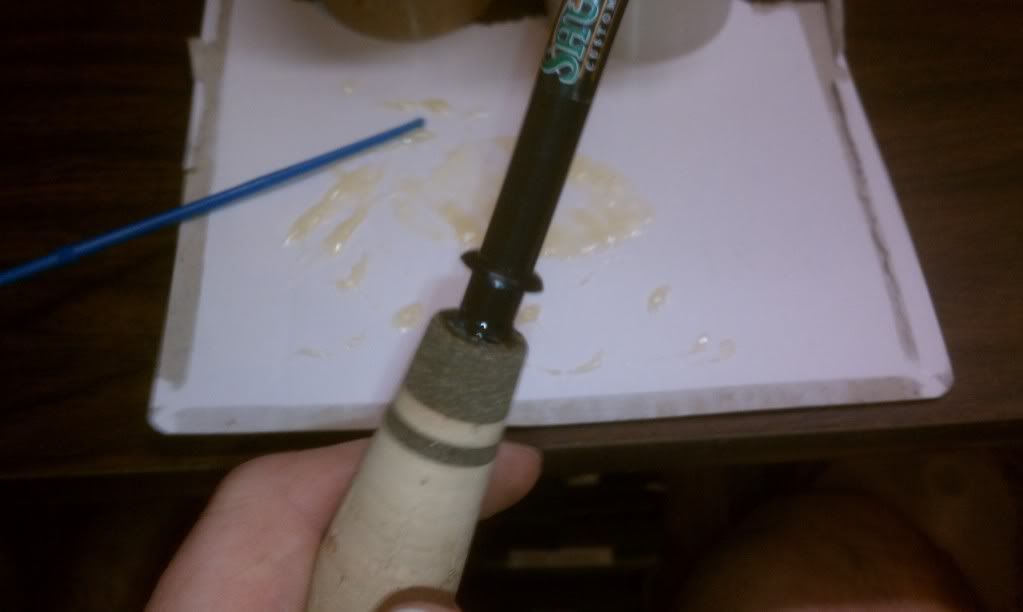
Now it's time for you to install the cork grip. Measure where the top section of the cork will be when installed and make a mark on the blank with a marker. Put a coat (not too thin or thick) of epoxy covering all of the blank from that mark down to the reel seat.
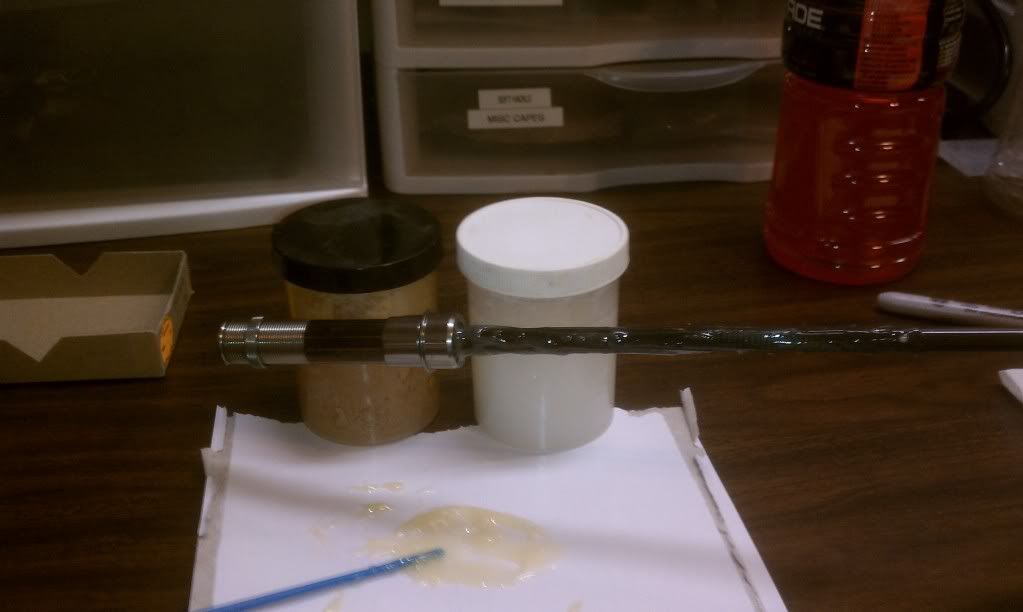
Now you want to slowly move the grip down the blank, rotating it for even distribution of epoxy down onto the reel seat. Take your time here as well, and do not pull the cork back up the blank once you have started or you will have another mess. The extra epoxy will build up as you move down, remove the extra so you don't have a big mess at the end. If you have a recessed hood, make sure there is a thin coat of epoxy on the seat hood.
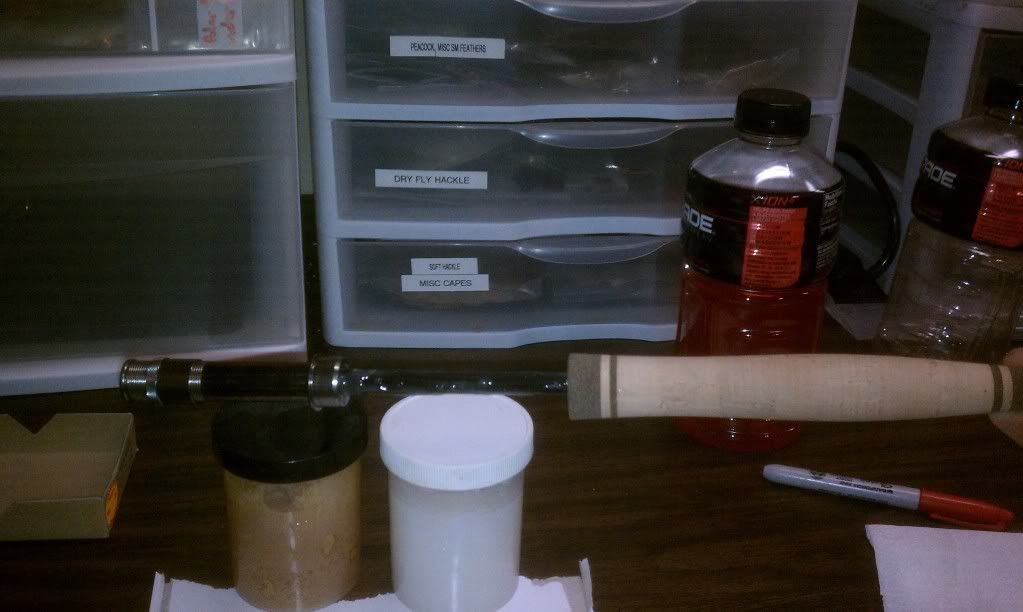
Join it all together and clean up any epoxy that may be on the cork, seat etc.
Next comes the winding check. The winding check is that small metal or plastic piece of material that is at the top of your cork. Put a very small amount of epoxy on the blank and put the check in place.
Now go back and clean up any extra epoxy again, look hard, it's there. It'll be shiny.
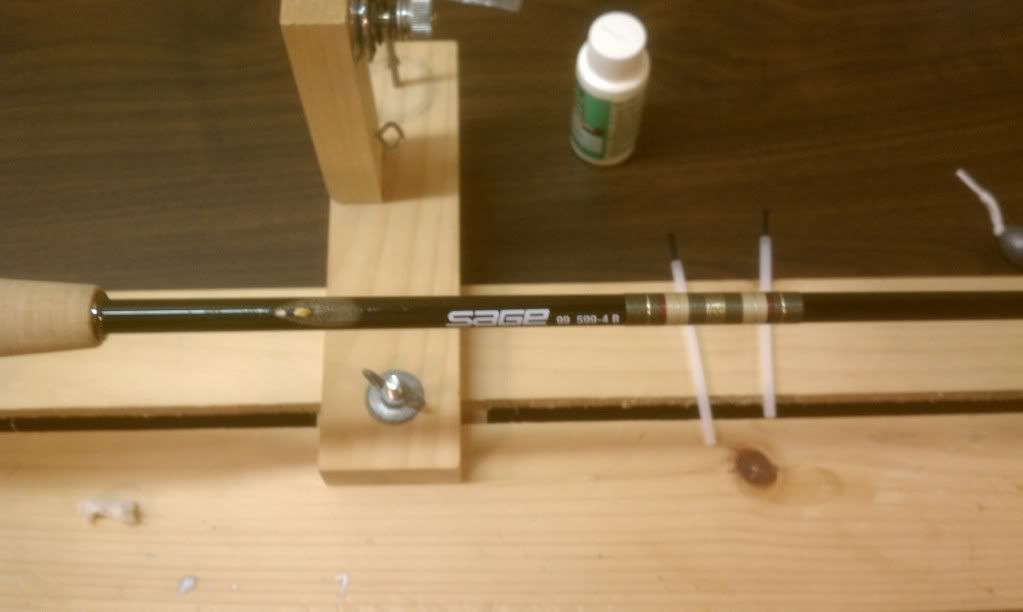
Once assembled, now you can line up your reel seat to the position you want it on your blank. I will actually put a reel in the seat to do this. You don't want the writing on the blank to be upside down from the reel or on the bottom.
Now that it is lined up, take the reel off, and clean everything again.
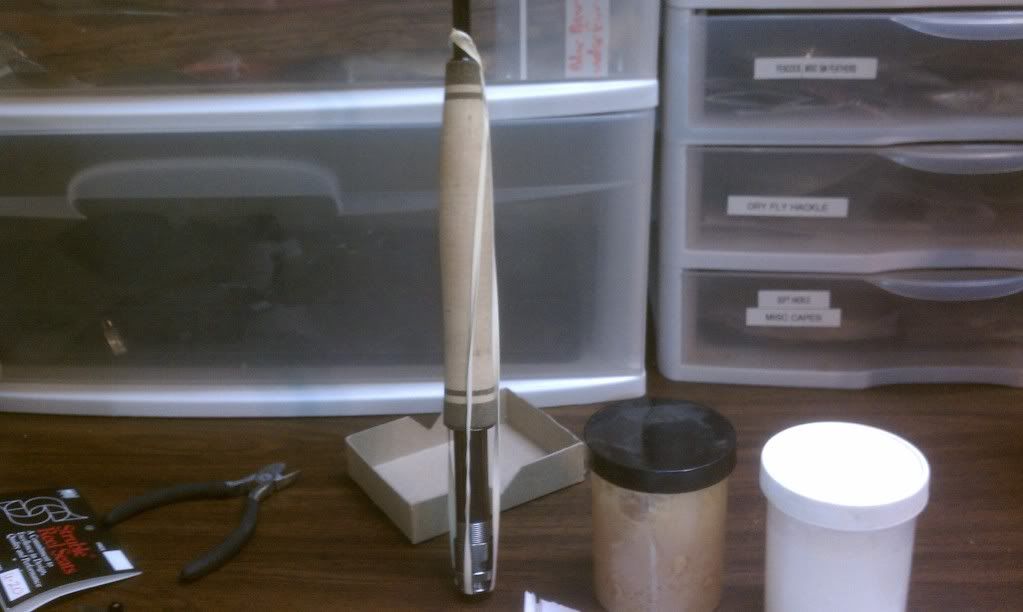
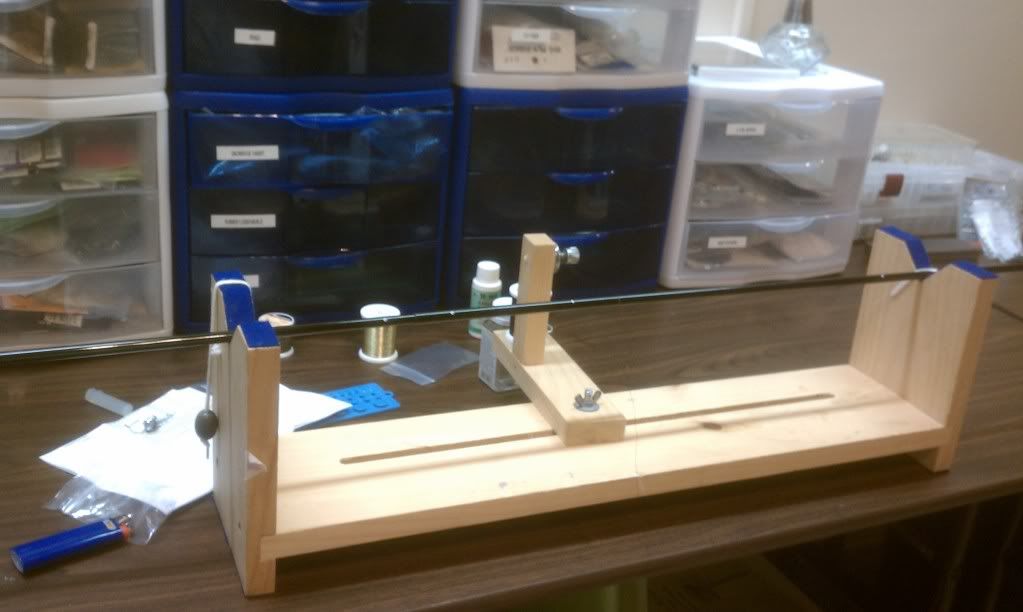
The last and final step to this process is to keep everything snug as the epoxy cures. Some will using a clamping system to compress it. I use rubber bands for now. This method pulls it all together for a snug solid fit. Check one last time for any little smudges of epoxy and set the rod aside for 12+ hours while it cures.
So there is the butt section assemble process for a single hand rod. It is tedious and frankly my least favorite part of building a rod. Take your time with each step!!
I am not a professional rod builder, but was taught by one and I am sure there are many different ways to do these steps. This process starts after I have assembled the reel seat. I am using a pre-made cork grip. The reel seat and cork are being put on a 10' 4wt rod. The following posts (finding the spline, thread wraps, epoxy, etc.) will be on my Sage 99.
The first step is to properly ream the inside of the cork grip. The most effective tool I have found is the Batson Reamer. JS Fly Fishing: Rod Building, Fly Tying: Batson Enterprises Dream Reamer
I have tried a bunch of other methods, but this by far is the easiest and best, perfect taper every time. This is time consuming, you want to rotate the reamer in the cork, not plunge it. Plan on taking at least 20 minutes to complete the process, especially if the cork has composite material in it like this one. The cork comes out in very fine particles, do it over a garbage. Blow out the inside of the cork before each time you try to size it up on the blank, you don't want anything scratching the blank. When you are sizing the cork to the blank, don't forget to take into consideration the length of the reel seat, I usually mark the blank with a marker to know were the junction will occur. Properly sized cork should have some resistance when done, but not so much so that you have to use elbow grease to get it into the final position. The epoxy step will lubricate it during assembly.
Once done with the cork, now it is time to fit the reel seat. The interior dimension of the reel seat will be larger that the rod blank, so you need to build the rod blank up so it is a uniform fit. They sell dowels for this, but I find it's easier and more precise to build up masking tape for this process. When doing this, make sure you leave space in between each of the tape rows so the epoxy and solidly set to both the tape and the blank. Also, you don't want to build the tape up so much that you have to force the seat over the tape, rather there should be a minimal amount of resistance so the epoxy can bond to the tape and the seat.
The next step is to mix up your epoxy and put the reel seat and the cork on the rod. I strongly recommend using a slow cure epoxy for this step. If you make a mistake, and it will happen, you can clean it up, correct it, and redo it without worrying about a 5 minute, or even hour window. I use a 12 hour cure epoxy. Besides epoxy, you MUST have some form of enamel thinner or mineral spirits and a roll of paper towels. Epoxy has a tendency to get everywhere, no matter how careful you are. You need to be able to thoroughly clean it up as once it sets, it's there for good.
Thoroughly mix your 2 part epoxy. I try to use Popsicle sticks whenever messing with the stuff.
First we will put on the reel seat. Slather the epoxy in between the channels of your tape and put a thin coat over every .mm of tape. The epoxy should bulge convexly slightly out of the channels. From the tip section of the rod blank, move the seat on down and make sure it is in the right direction. Once you hit the epoxy section, do not back the seat up the blank again as a trail of messy epoxy will follow (that's why the mineral spirits). Slowly rotate the seat down over the tape section, some of the extra glue will start to push out, clean it off as you go. Take your time here!
Once your seat is where you want it, make sure there is epoxy in the end of the seat and put a thin coat on the reel seat cap and put it on. Now you have installed the seat! We will line it up properly to the blank later, remember it's slow curing epoxy so we have time. Clean up any extra epoxy around the seat. Look in in the threads, it has a tendency to get in there, you don't want a locked up seat.
Now it's time for you to install the cork grip. Measure where the top section of the cork will be when installed and make a mark on the blank with a marker. Put a coat (not too thin or thick) of epoxy covering all of the blank from that mark down to the reel seat.
Now you want to slowly move the grip down the blank, rotating it for even distribution of epoxy down onto the reel seat. Take your time here as well, and do not pull the cork back up the blank once you have started or you will have another mess. The extra epoxy will build up as you move down, remove the extra so you don't have a big mess at the end. If you have a recessed hood, make sure there is a thin coat of epoxy on the seat hood.
Join it all together and clean up any epoxy that may be on the cork, seat etc.
Next comes the winding check. The winding check is that small metal or plastic piece of material that is at the top of your cork. Put a very small amount of epoxy on the blank and put the check in place.
Now go back and clean up any extra epoxy again, look hard, it's there. It'll be shiny.
Once assembled, now you can line up your reel seat to the position you want it on your blank. I will actually put a reel in the seat to do this. You don't want the writing on the blank to be upside down from the reel or on the bottom.
Now that it is lined up, take the reel off, and clean everything again.
The last and final step to this process is to keep everything snug as the epoxy cures. Some will using a clamping system to compress it. I use rubber bands for now. This method pulls it all together for a snug solid fit. Check one last time for any little smudges of epoxy and set the rod aside for 12+ hours while it cures.
So there is the butt section assemble process for a single hand rod. It is tedious and frankly my least favorite part of building a rod. Take your time with each step!!
")